Modern browsers, OS, and DNS clients store cache of IP addresses and other DNS information automatically. When a computer visits a website for the first time, it stores the website's DNS information in the cache, and on the next visit of the same website, it looks in the cache to see if the web site's information is present to use. An old version of a site opens if the website's DNS information has changed since the computer's last visit.
Flushing the cache removes all the data stored in the cache, forcing the computer to find the new DNS information for the website. It is usually done to speed up the process and minimize requests for the same hostnames. When IP addresses are changed, or bad results are cached, its necessary to clear the DNS cache. DNS cache can be cleared via command line or from browsers also. Steps to flush DNS Cache for major operating systems and browsers are as below.
Command Prompt and Windows Powershell, which is a new addition to Windows, can be used to clear DNS cache.
To reset the DNS resolver cache, perform the following steps:
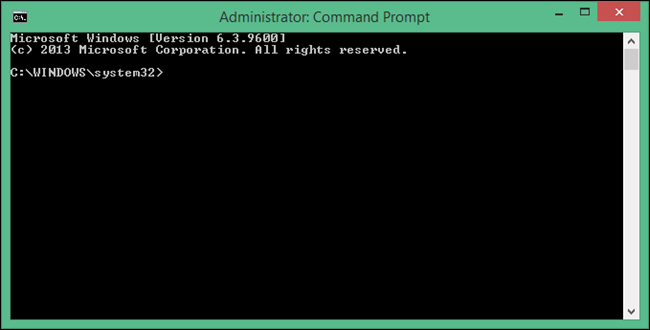
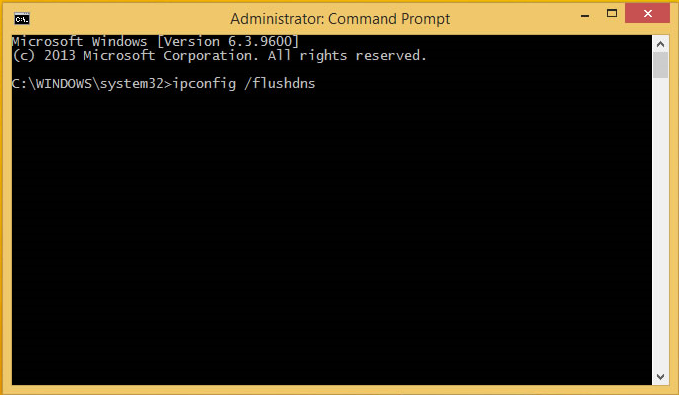
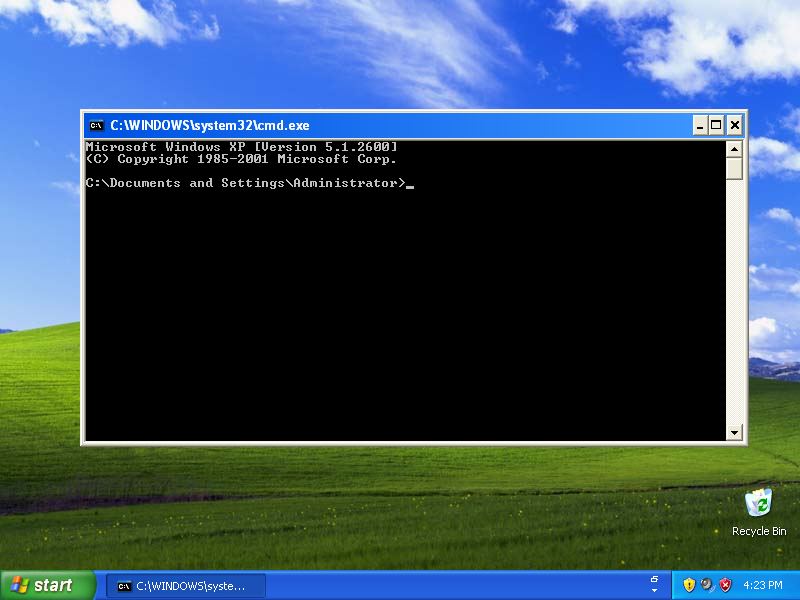
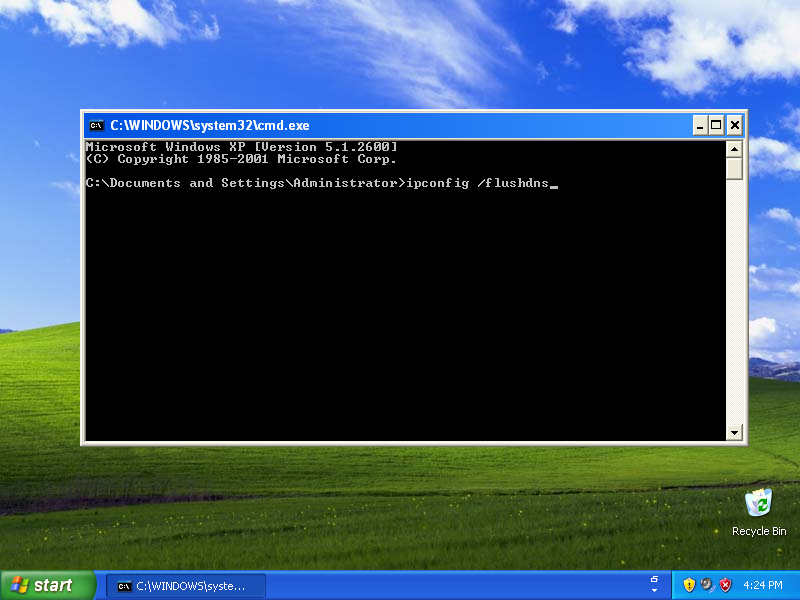
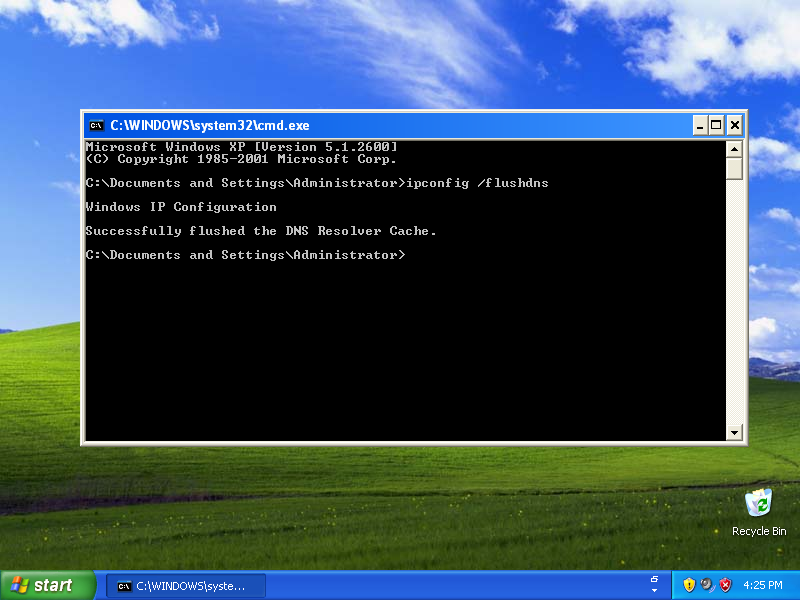
Start button, then type cmdCommand Prompt, then choose Run as Administrator.ipconfig /flushdns then press Enter. (be sure there is a space before the slash)A command box will flash on the screen for a split second, and the DNS Resolver cache is cleared.
Besides, there are some other related commands that you might be interested in:
Start button, then type powershellWindows PowerShellClear-DnsClientCacheBecause of the system security policies run cmd as administrator user and follow below steps to flush DNS cache.
Windows key + X and select the Command Prompt (Admin) option from the Power User menu.ipconfig /flushdns and press Enter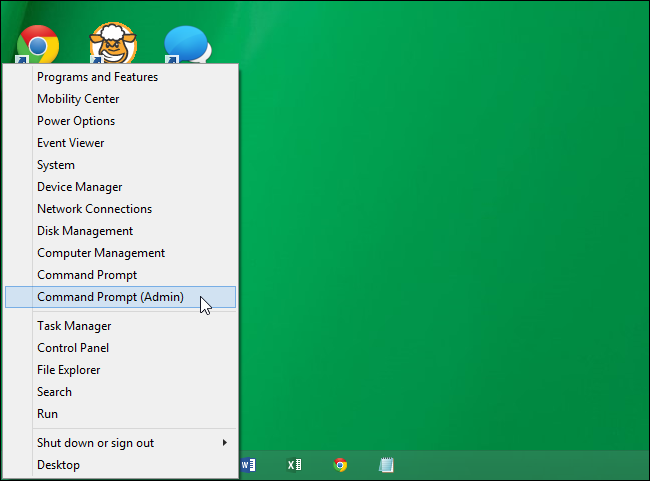

To flush DNS on an upgraded version of Windows is almost as easy as it is in the previous versions but due to Microsoft's upgraded security system requirements, you must run the command prompt with administrator privileges.
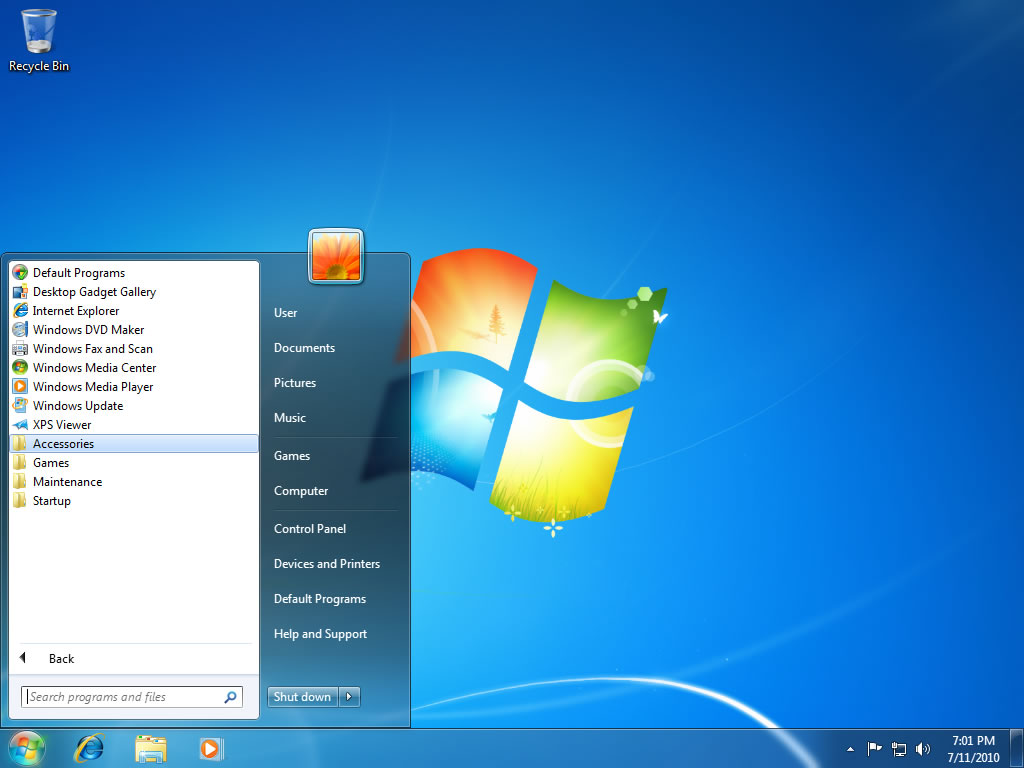
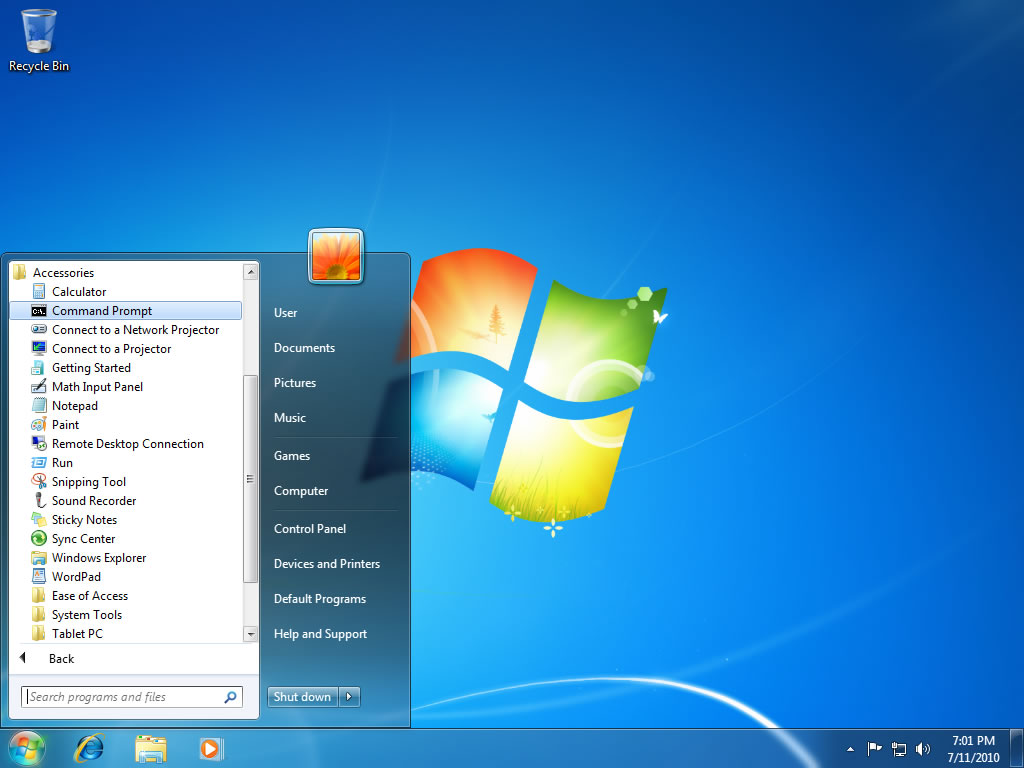
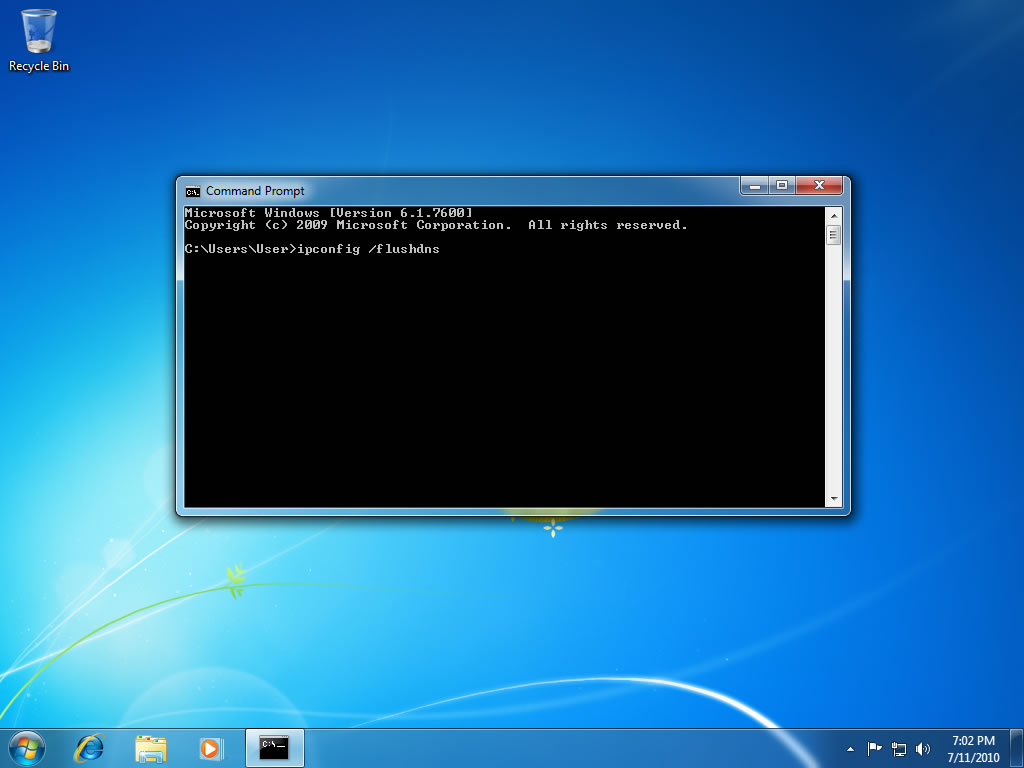
command prompt, navigate as shown (Start > All Programs > Accessories > Command Prompt)administrator privileges, you must do right click on the command prompt application and choose Run as Administrator.ipconfig /flushdns and press Enter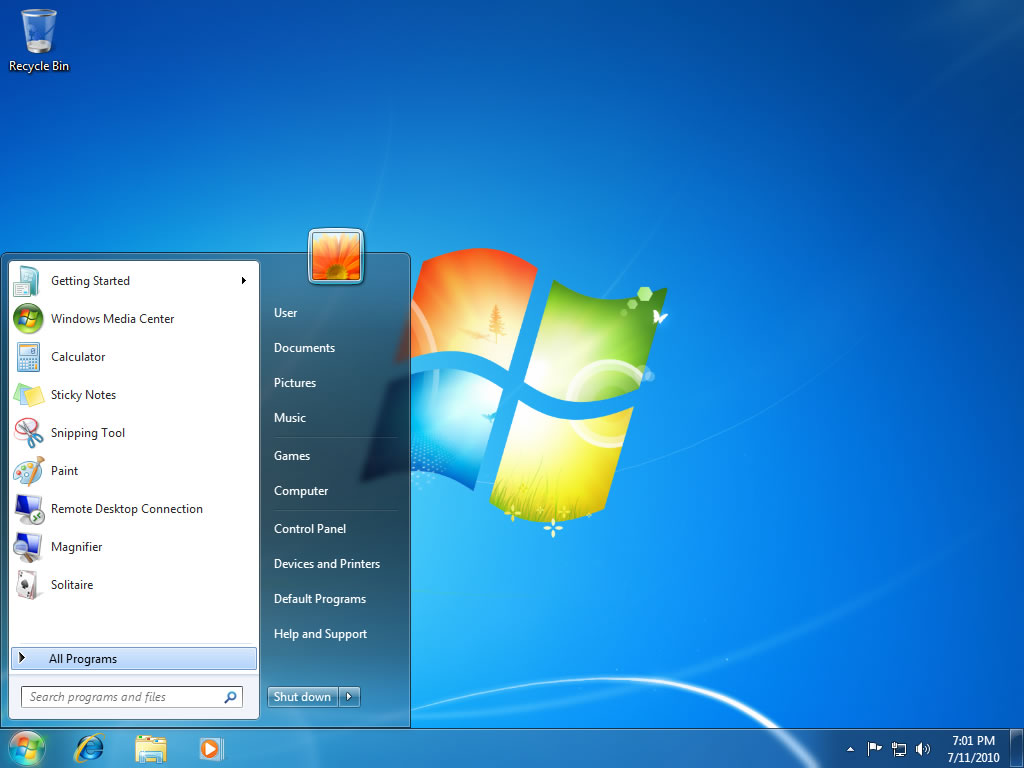


Type in cmd into the Windows Vista / Windows 7 start menu search field and then right click on the cmd.exe result instead of navigating through the various sub-menus.
Given below steps will help you to clear your windows DNS cache.
Start > Run >).cmd and hit Enteripconfig /flushdns

Flushing the DNS in Mac OS X is an easy process, but the steps taken will depend on which version of OS X is running as your operating system. First, make sure you open the Terminal on your computer. Once opened, run the command below that corresponds to your version of OS X.
sudo dscacheutil -flushcache; sudo killall -HUP mDNSRespondersudo killall -HUP mDNSRespondersudo killall -HUP mDNSRespondersudo killall -HUP mDNSRespondersudo killall -HUP mDNSResponder;sudo killall mDNSResponderHelper;sudo dscacheutil -flushcachesudo killall -HUP mDNSRespondersudo dscacheutil -flushcache;sudo killall -HUP mDNSRespondersudo discoveryutil udnsflushcachesdscacheutil -flushcache; sudo killall -HUP mDNSRespondersudo killall -HUP mDNSResponderdscacheutil -flushcachelookupd -flushcache Most Ubuntu and Debian systems run a system that uses systemd-resolve daemon; you will need to do the following.
systemd-resolve --flush-cachessystemd-resolve --statisticsIf you are running the nscd Name Service Cache Daemon, then you will need to do the following.
command terminal (either as root or run step 2 with sudo )/etc/init.d/nscd restartThere are three options available to flush DNS cache in iPhone.
Toggle the Airplane mode
The easiest solution is to toggle the Airplane mode in iPhone. For this
Reboot your iPhone
Dump Network Settings
That will clear your DNS cache but will also immediately disable your Wi-Fi connection.
Flush DNS cache in Chrome
Open the Chrome browser
Clear the cache of your browser
In your android phone
Use Wi-Fi to Remove DNS Cache
Close apps: Close the app completely. Make sure it is not running in the background as well.Open App: Open the app again. DNS Cache should is cleared.This method can be used for the Chrome browser regardless of the operating system.
Google Chrome.chrome://net-internals/#dns. Google Chrome displays a list of hosts in its internal DNS cache.Clear host cache.chrome://net-internals/#sockets.Close idle sockets, and then click Flush socket pools.DNS cache can be cleared on the client-side, but the same can be done on DNS Serves aswell to speed up the DNS Propagation process. It can be achieved in the following ways:
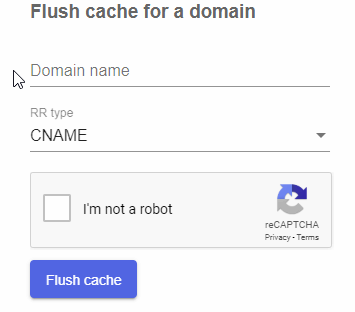
Public DNS services like Google, Cloudflare, OpenDNS, VeriSign enable users to request a DNS flush for specific domains.
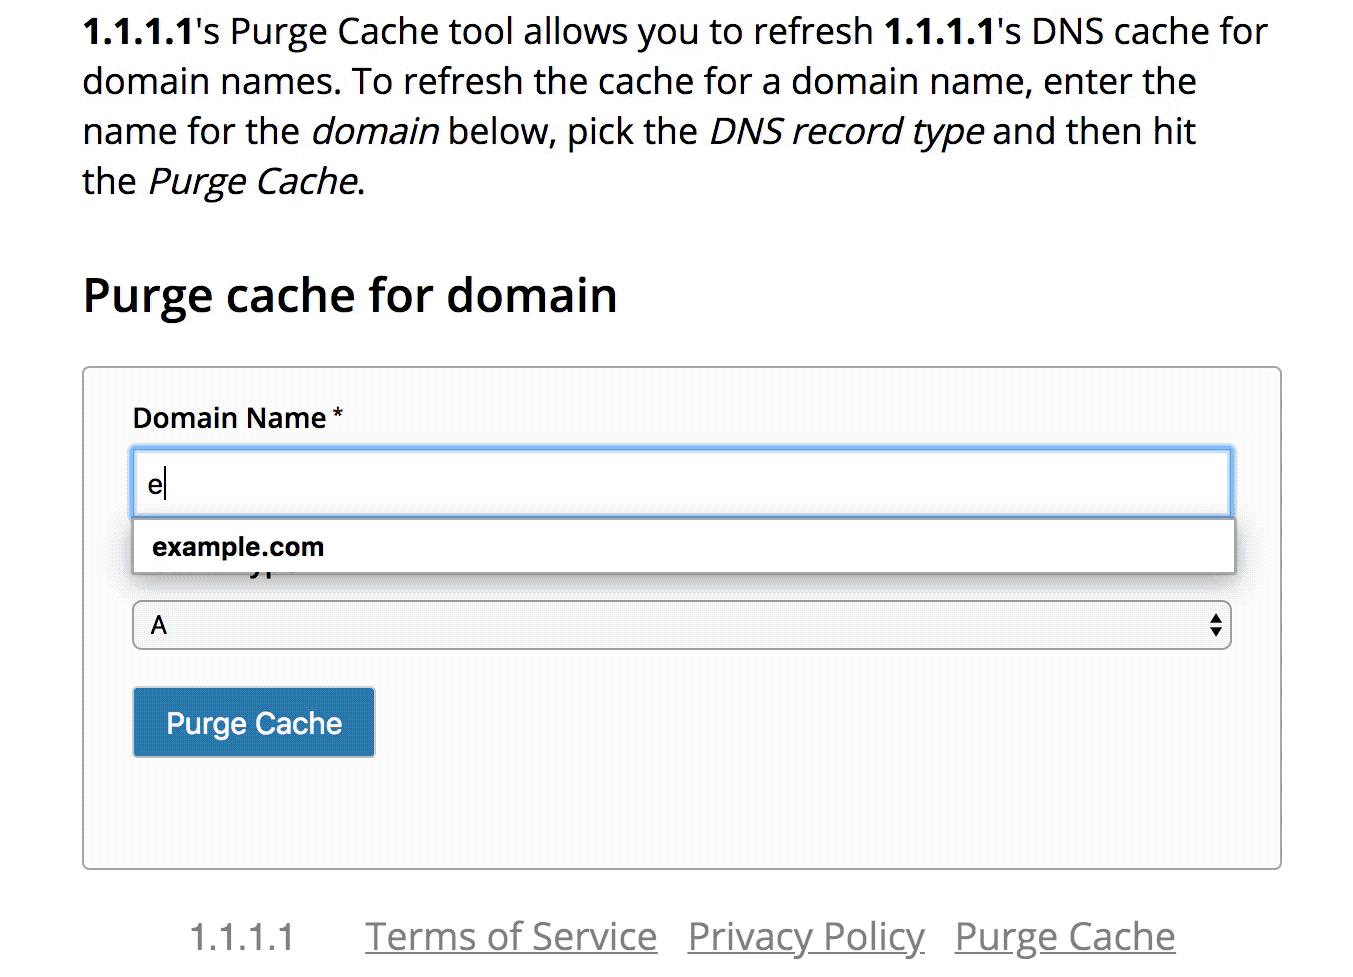
Refresh The Cache button to clear the DNS cache.